DIY Shaving Cream Art
- Shaving Cream Marbling
Objective: Create an awesome art project using everyday household items… today it’s Shaving Cream! Kids cannot get enough of these 2 projects – they’re experimental, beautiful and most importantly FUN!
Materials: Shaving Cream, bottled glue, food coloring (or tempera or acrylic paint will work), fork or other utensil such as a skewer or toothpick, paper, ruler or another object to act like a “squeegee”.
Instructions:
- Spray shaving cream into a pan or baking sheet and smooth it down with a spatula

- Squirt a few drops of food coloring or paint onto the shaving cream surface. (Play around with different color combinations.)

- Using your utensil, swirl the colors around. Try not to “overmix” but rather, try to create a marbleized look by dragging one color through another.

- Lay your paper on top of the design and give it a minute to soak up the dye. Peel it away from the shaving cream and lay it down, messy side up.

- Scrape it off by pulling the ruler across the paper to reveal your masterpiece
2. DIY Shaving Cream Puffy Paint
Materials: Shaving cream, bottled glue, food coloring, heavy paper such as cardstock
Instructions:
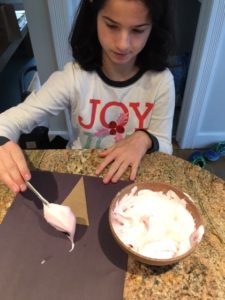
- Mix equal amounts of shaving cream and glue in a bowl (we did 3 different colors).

- Add food coloring, a few drops at a time until you have your desired color. Mix well.

- Apply the mixture to a piece of heavy paper in any design you would like- we did an ice cream cone! Try to keep it “puffy” rather than smearing it flat because it will dry in that position!