Objective:
This project has that fun “wow” factor as kids watch their design change by simply using an eraser in a very different way we are used to. Create colorful designs using a basic art tool in an interesting way. Experiment with different color combinations and piece multiple designs together to create a “quilt-like” effect.
Materials:
Paper (ideally heavy weight such as cardstock), either oil pastels (preferred) or crayons, handheld eraser.
Instructions:
· Choose a few colors of pastels or crayons you wish to work with. Start with 3 to get a sense of the project then you can always increase the number of colors (which corresponds to the number of circles) in future pieces.
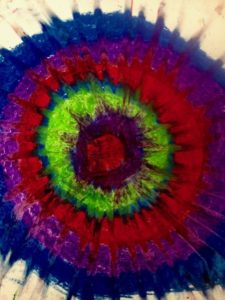
· With your 3 colors, color in 3 concentric circles, starting in the middle of the paper and radiating out to the edge. (For the little ones you may want to use a pencil to draw the 3 radiating circles first so that they don’t have to worry about maintaining the shape of the circle. Encourage your child to use their “careful coloring” skills to really fill in the space. Scribbling will not produce the proper effect.
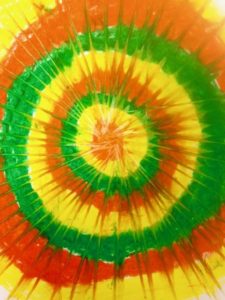
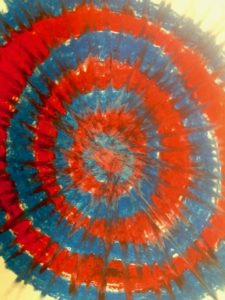
· Using the straight edge portion of your eraser start in the center of the innermost circle and slowly “pull” the eraser in a straight line all the way to the edge of the paper. The eraser will act to blend the colors, producing a tie-dye or starburst effect. Continue using the eraser all the way around the circle until your design is complete.
Extra:
Check out artist Wassily Kandinsky and his famous studies using concentric circles.
Extra Extra:
Experiment using different combinations of colors. Create one design with all cool or warm colors, one with primary colors, complimentary or analogous colors… you get the point!